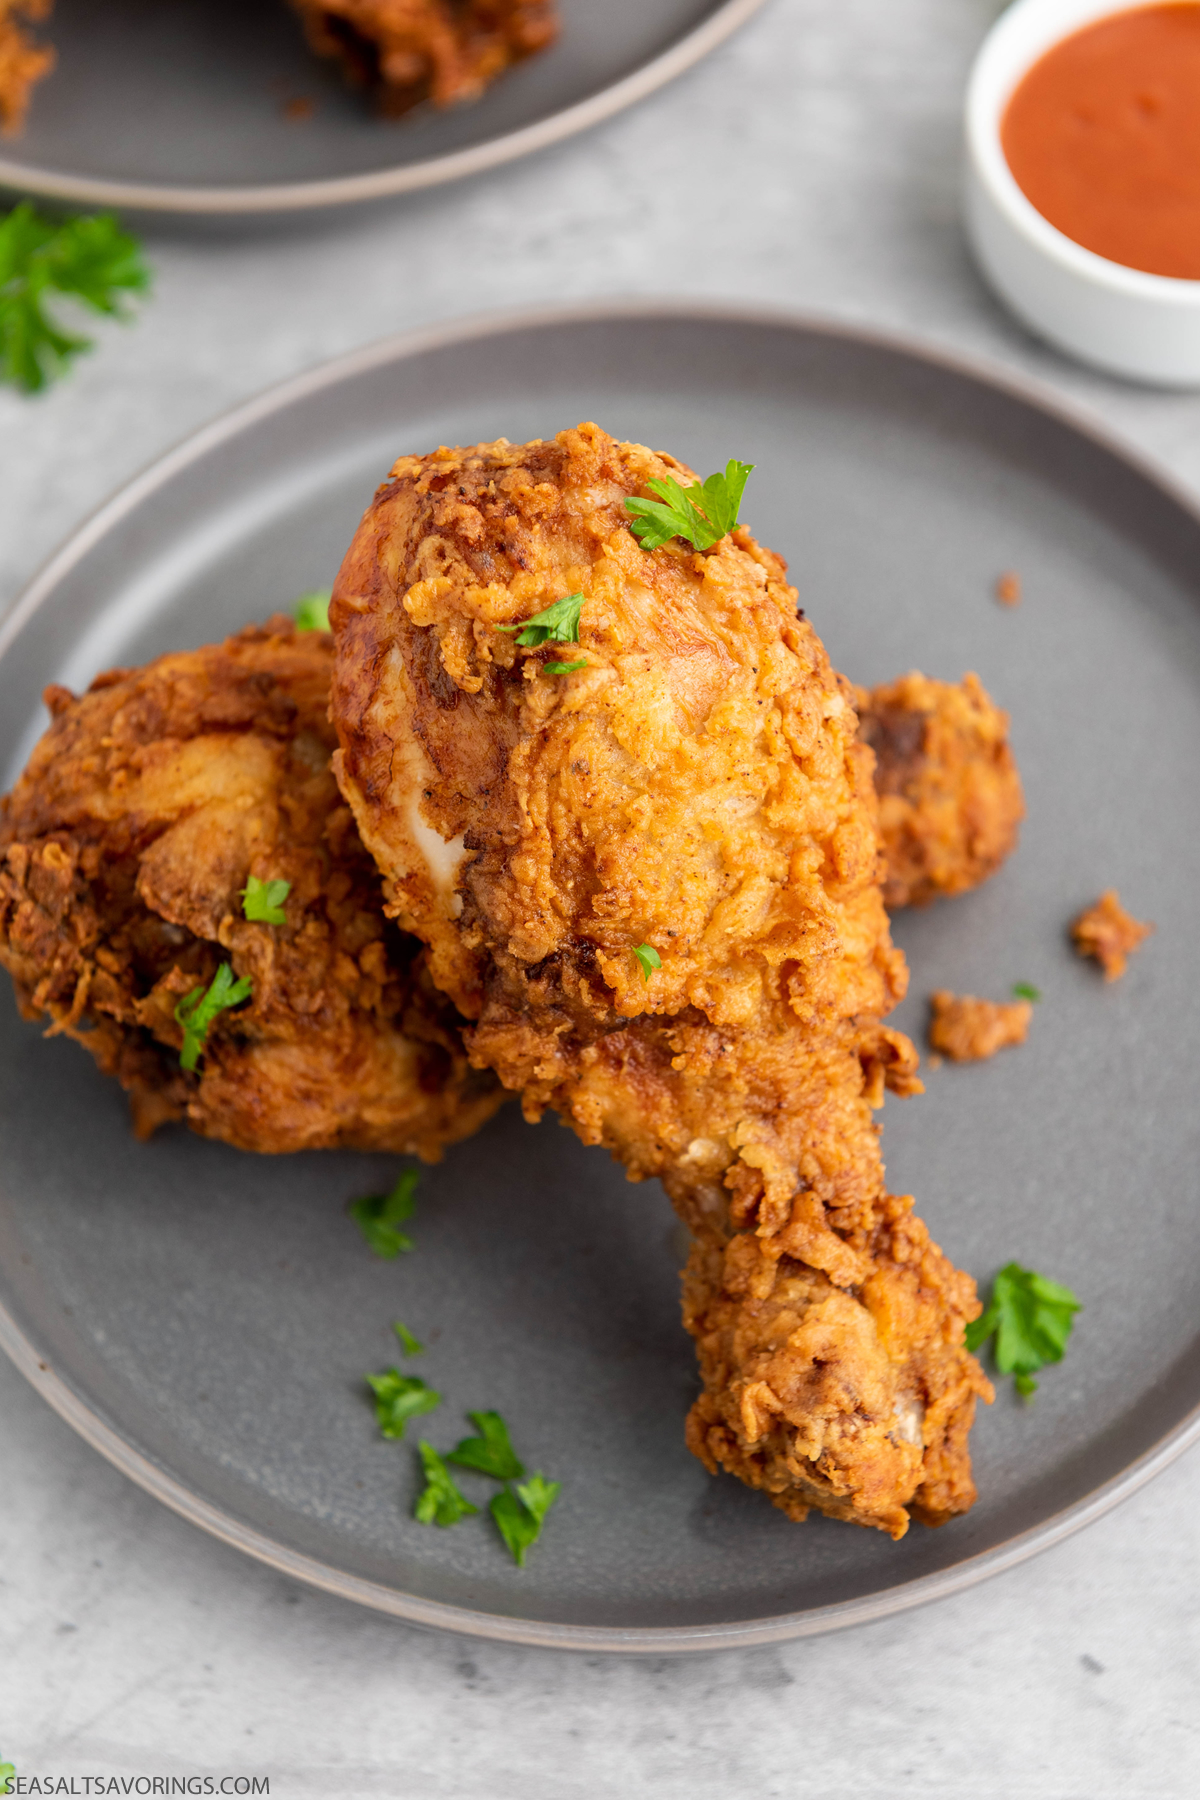
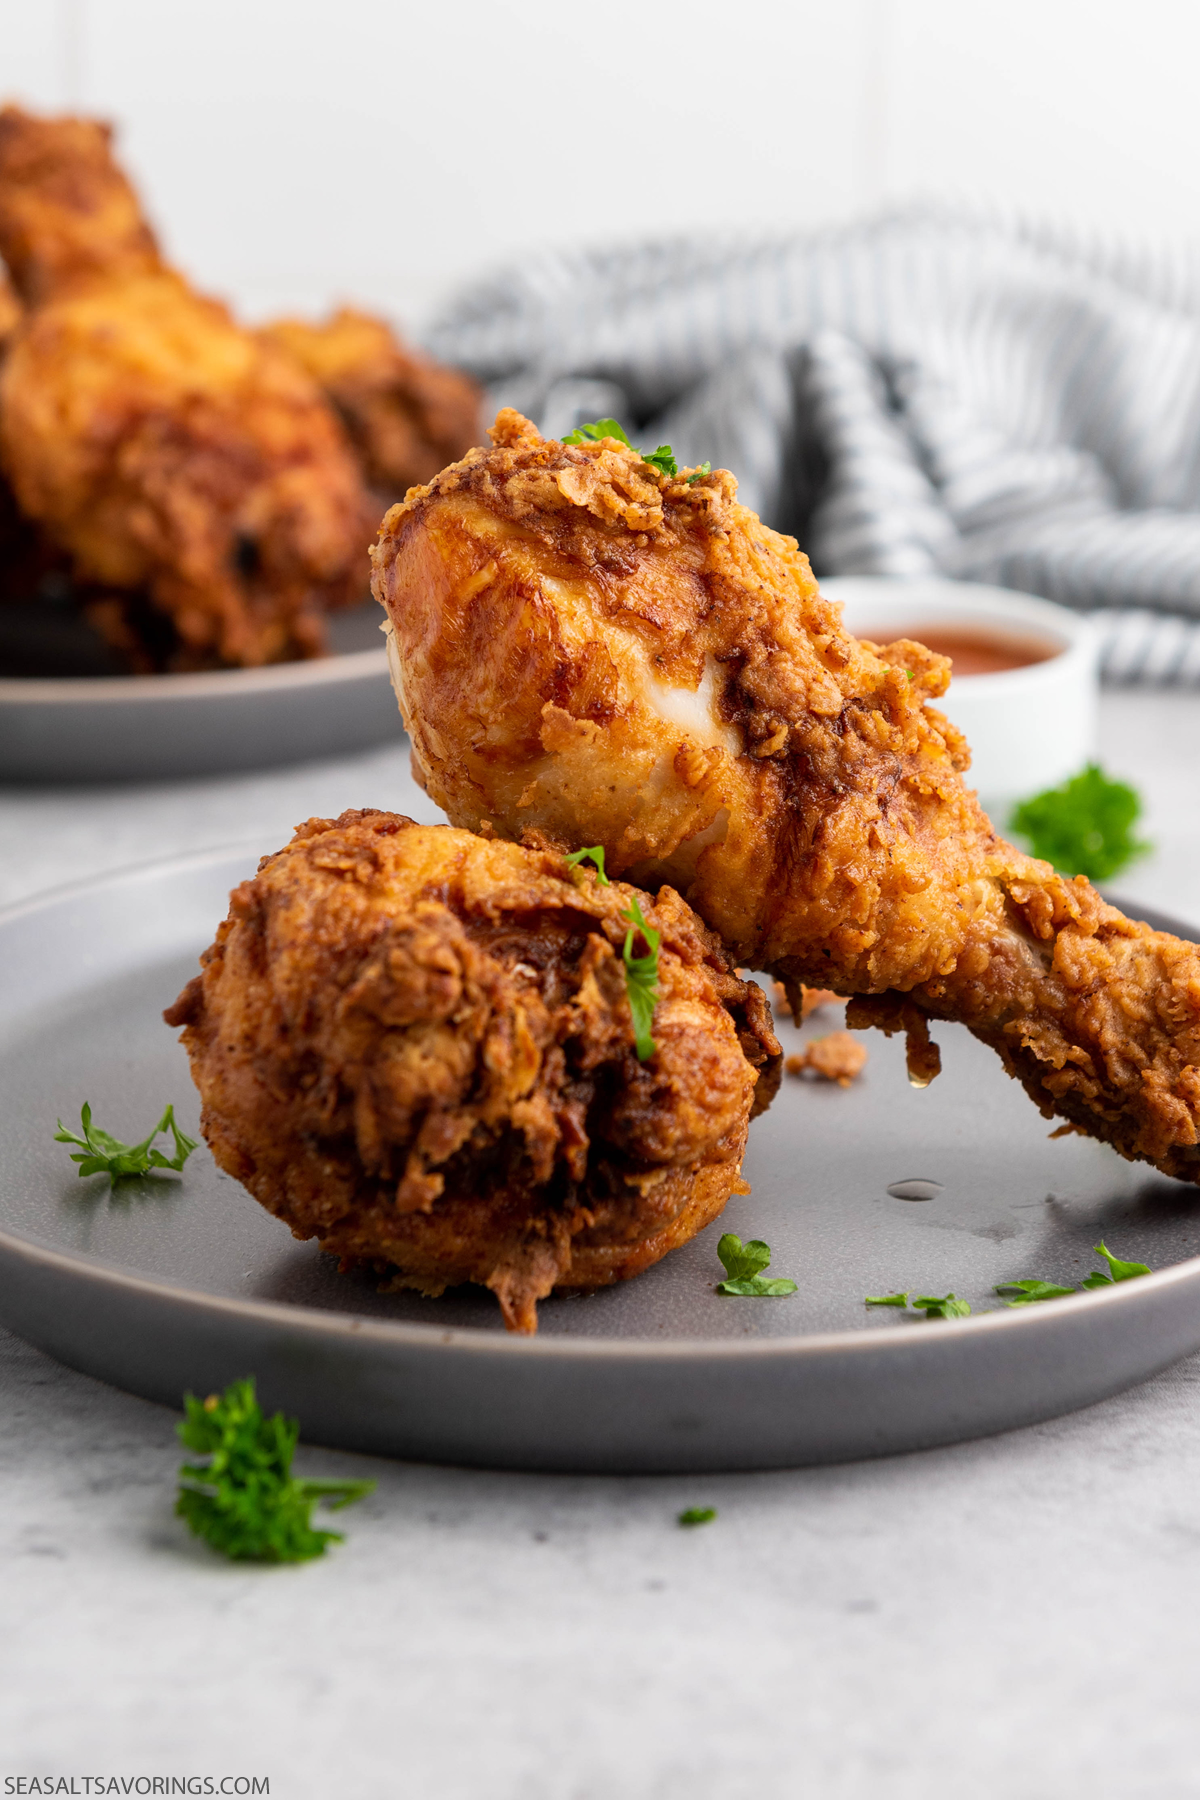
Buttermilk Fried Chicken
This dish is the heart of comfort food, with juicy, tender chicken wrapped in a crispy, flavorful crust. It’s about that perfect bite where the crunch meets melt-in-your-mouth chicken. Marinated in buttermilk and seasoned to perfection, simple ingredients come together to make something truly special. This Buttermilk Fried Chicken is more than just a meal; it’s a celebration of those cozy, happy moments around the table.

Table of Contents
Chef’s Tips
- Marinate for as long as you can: Overnight marination will infuse the chicken with even more flavor.
- Temperature is key: Use a thermometer to ensure your oil is at the correct temperature before frying. Too hot, and the outside burns before the inside cooks; too cool, and the chicken absorbs too much oil, becoming greasy.
- Rest before serving: Letting the chicken rest for a few minutes after frying allows the juices to redistribute, ensuring each bite is as delicious as the last.
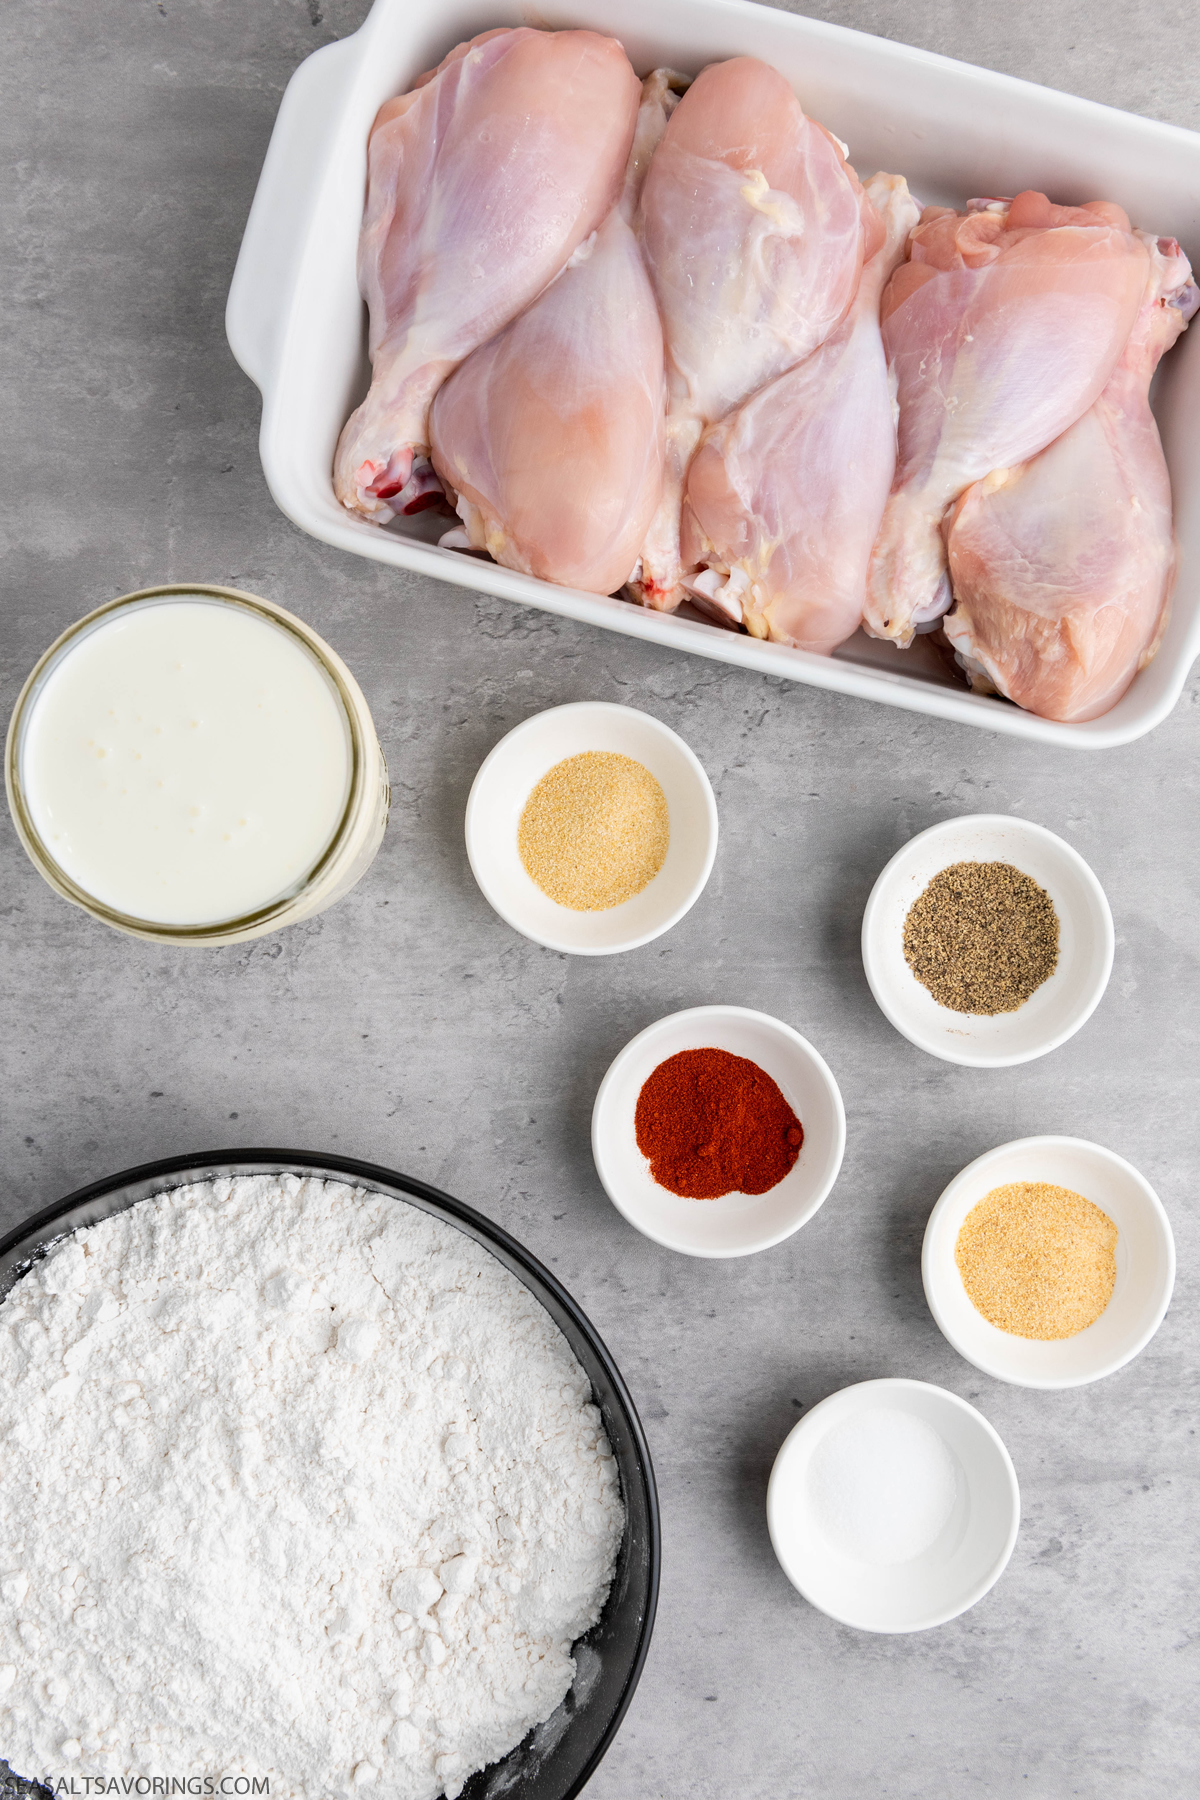
Ingredients
The humble combination of buttermilk, flour, and a handful of spices transforms ordinary chicken into an extraordinary dish that’s bursting with flavor.
The Chicken
- 6 chicken drumsticks: Opt for similarly sized drumsticks to ensure even cooking. Freshness is key here for the best flavor and juiciness.
The Marinade
- 2 cups buttermilk: This is the secret to tender chicken. Buttermilk acts as a tenderizer, making the meat juicy and flavorful.
The Coating
- 2 cups all-purpose flour: The base of your crispy coating.
- 1 teaspoon paprika: Adds a hint of smokiness and color.
- 1 teaspoon garlic powder: For that irresistible savory depth.
- 1 teaspoon onion powder: Complements the garlic with its sweet, aromatic flavor.
- 1 teaspoon salt: Enhances all the flavors.
- 1 teaspoon pepper: Adds a slight kick.
Frying
- Vegetable oil: Choose an oil with a high smoke point for frying, such as canola or peanut oil.
Instructions
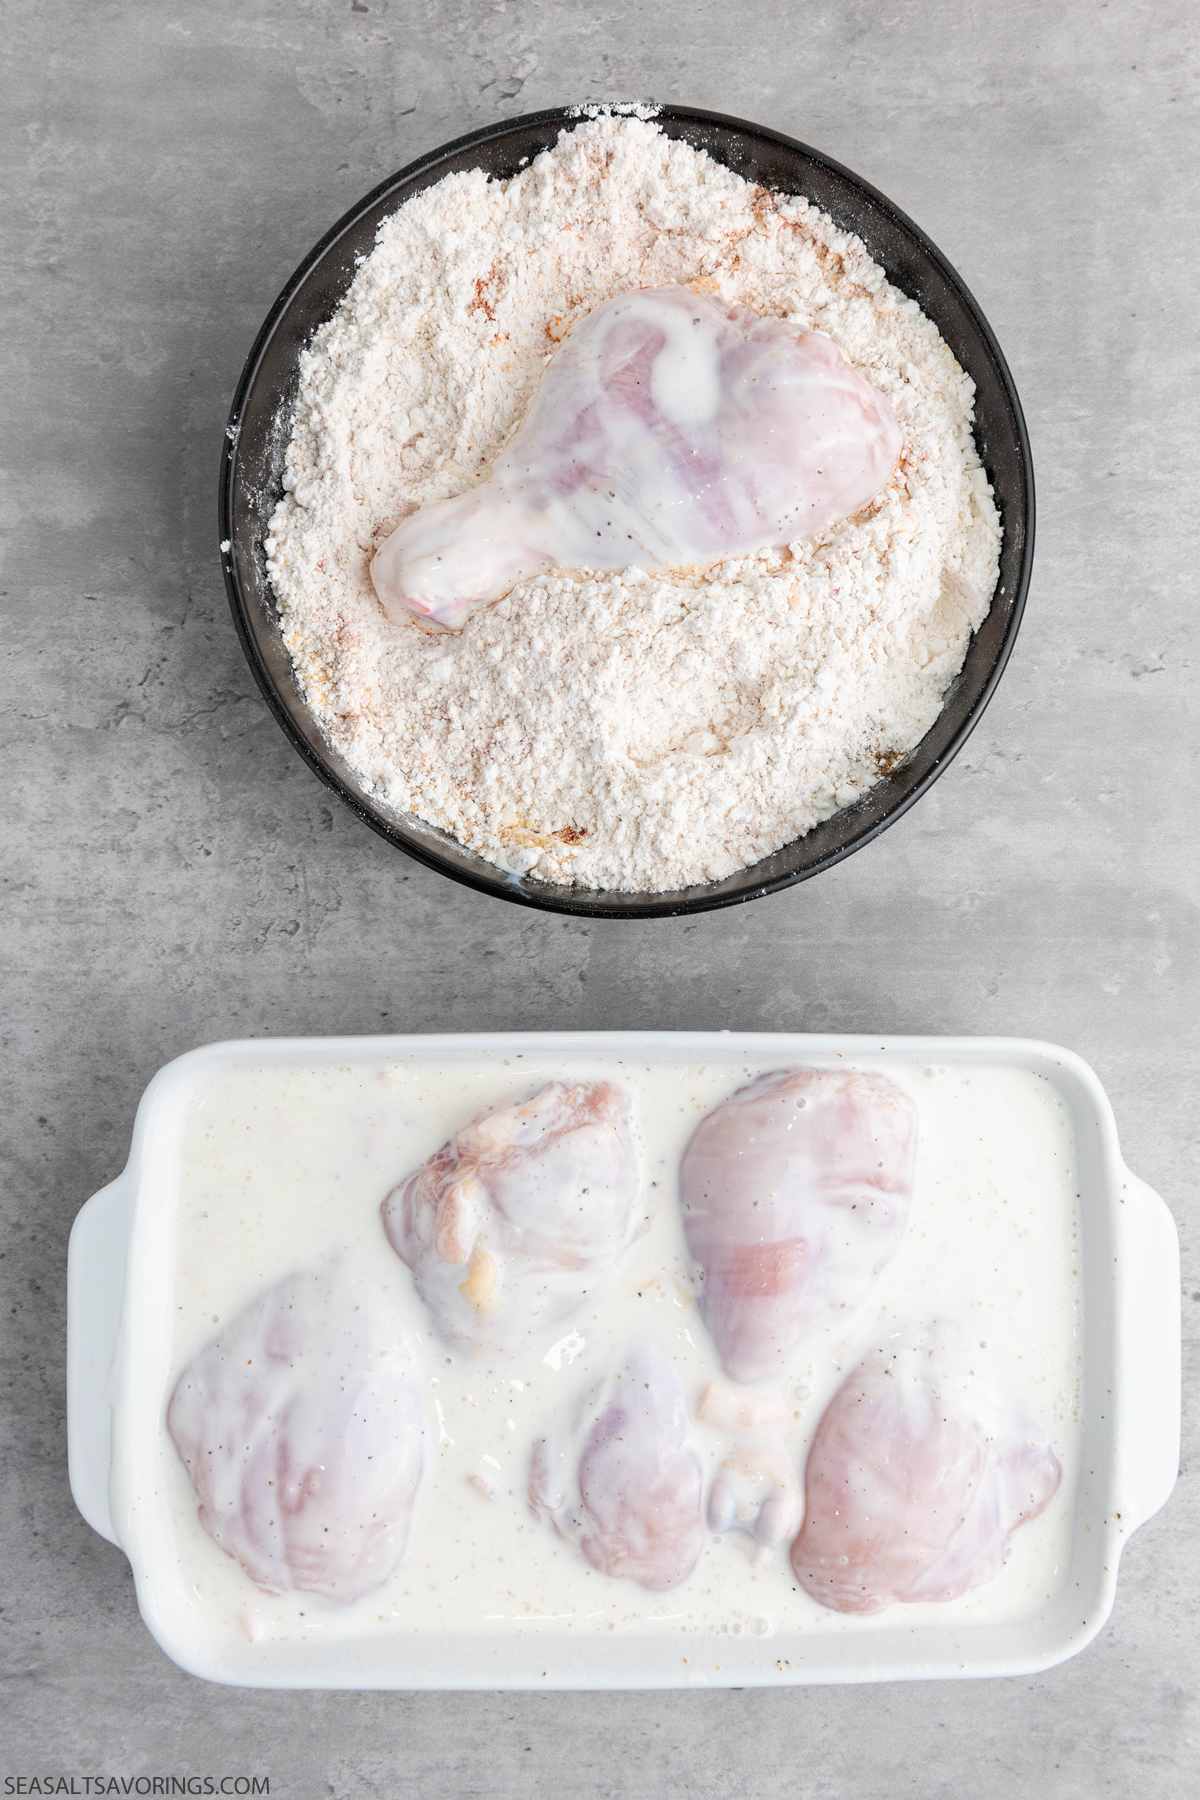
- Marinating the Chicken: Begin by giving your drumsticks a nice bath in buttermilk seasoned with salt and pepper. This step is crucial for flavor and tenderness, so don’t skimp on marinating time. A good two hours or even overnight in the fridge will do wonders.
- Preparing the Coating: While the chicken marinates, whisk together your dry ingredients. This blend of flour and spices will give your chicken that crave-worthy crust we all love.
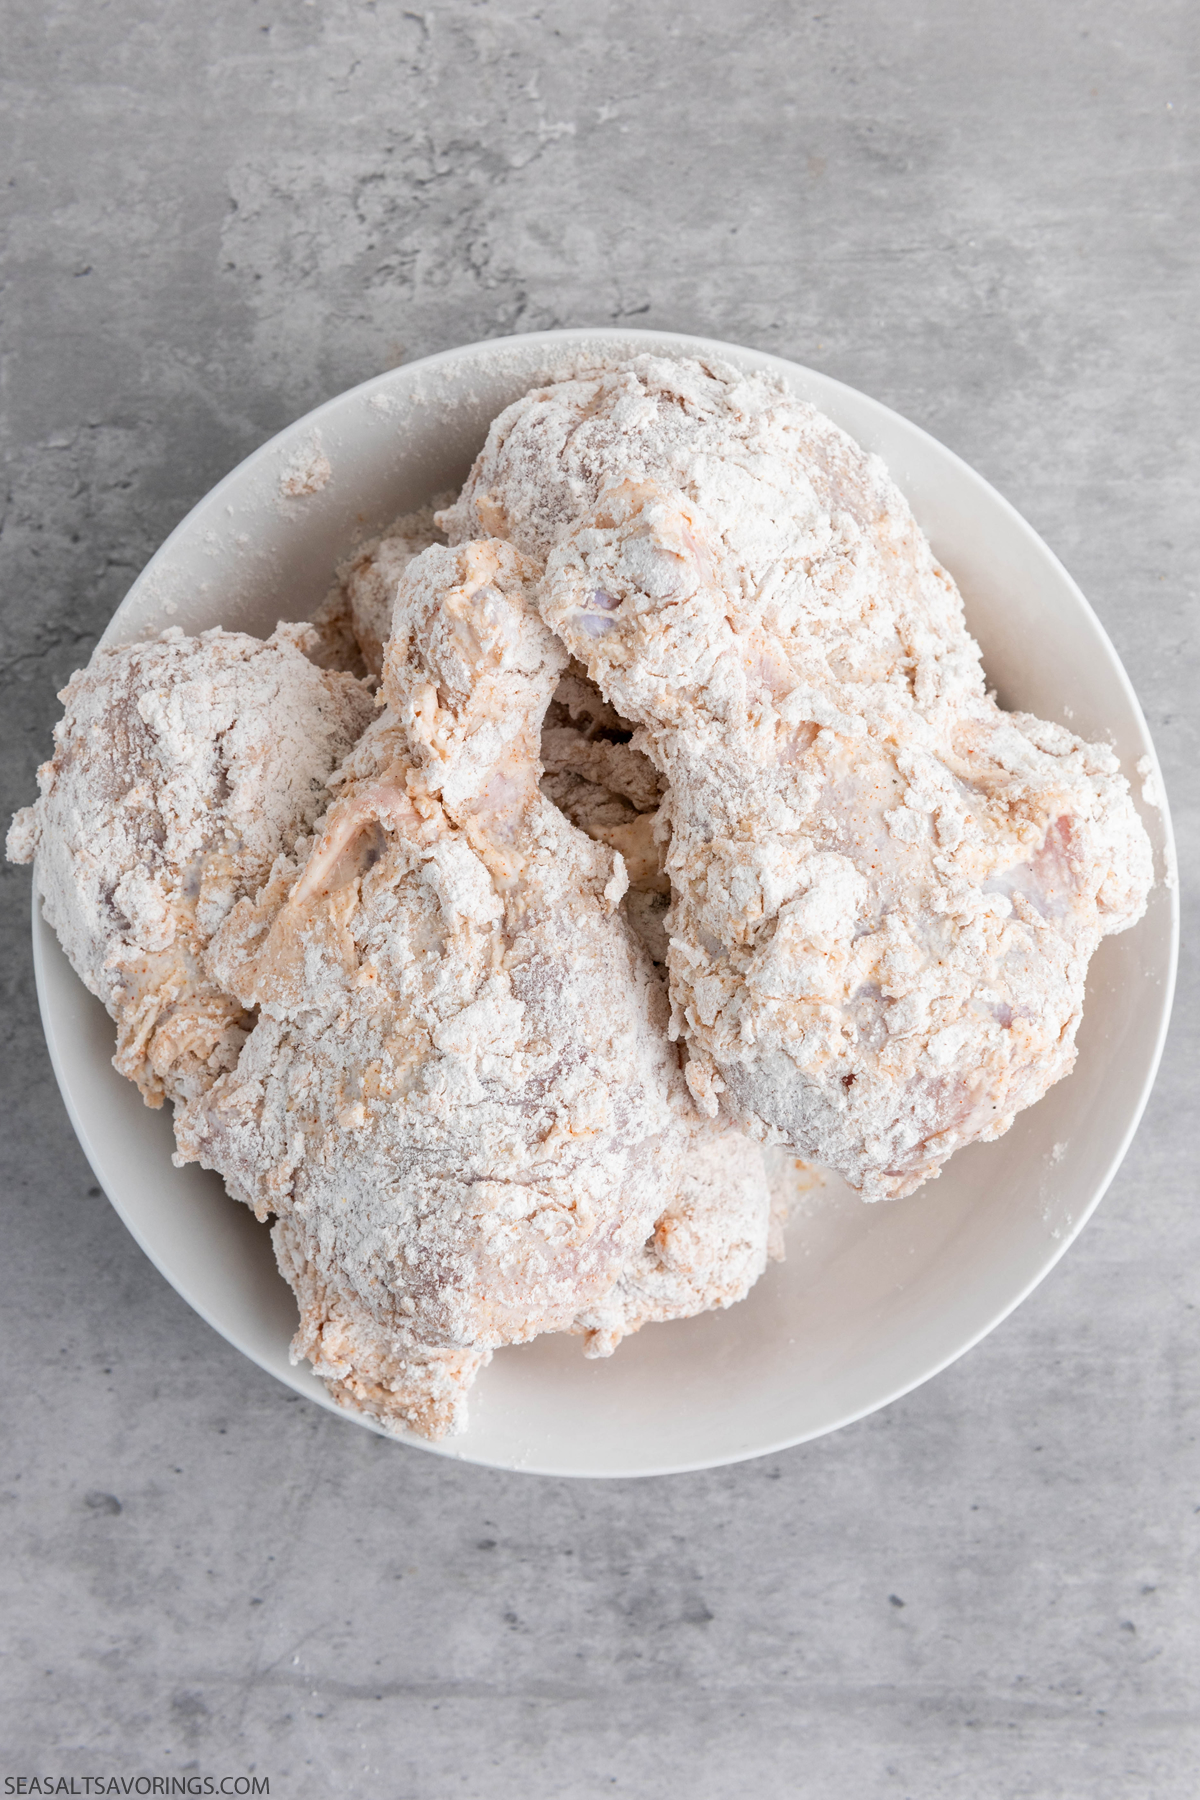
- Dredging the Chicken: When ready, let the excess buttermilk drip off each drumstick before giving them a good roll in your seasoned flour. Ensure each piece is thoroughly coated for the crispiest outcome.
- Frying: Heat your oil to that sweet spot between 350-375°F. Fry the chicken in batches to avoid overcrowding, which can lower the oil’s temperature and result in soggy chicken. Fry until golden brown and cooked through, then drain on paper towels to remove any excess oil.
- Serving: Let the chicken cool for a moment (if you can wait) before diving in. This is best enjoyed with sides that speak to your soul. Think mashed potatoes, coleslaw, or a simple green salad.
Substitutions
- Buttermilk: No buttermilk? No problem. Mix a tablespoon of white vinegar or lemon juice into a cup of regular milk and let it sit for a few minutes.
- Gluten-Free: Swap the all-purpose flour for a gluten-free alternative to accommodate dietary restrictions without sacrificing taste.
Using Other Chicken Parts
- Adjust Cooking Times: Different parts of the chicken cook at varying rates. Thighs and breasts are larger than drumsticks and may require additional cooking time. Use a meat thermometer to ensure the chicken reaches the safe internal temperature of 165°F (74°C).
- Skin-on or Skinless: For the crispiest results, use skin-on chicken pieces. The skin helps to retain moisture within the meat and provides a great texture once fried. However, skinless pieces can also be used if you’re looking for a slightly lighter option.
- Even Thickness: When using chicken breasts, consider pounding them to an even thickness. This helps in even cooking and ensures every part of the breast is just as juicy and tender.
- Beware of Overcrowding: Regardless of the chicken part you’re using, avoid overcrowding the pan or fryer. Cooking too many pieces at once can lower the oil’s temperature, leading to less crispy and more greasy results.
- Bone-in vs. Boneless: Bone-in chicken pieces tend to have more flavor and stay juicier than boneless cuts. However, boneless pieces cook faster and can be more convenient for eating. Adjust your cooking time based on whether you choose bone-in or boneless.
Storage and Reheating
- Storing: Keep any leftovers in an airtight container in the fridge. Properly stored, your fried chicken can last up to three days.
- Reheating: To keep the skin crispy, reheat in an oven preheated to 375°F for about 10-15 minutes, or until heated through.
FAQs
Absolutely! While drumsticks are my go-to, feel free to use thighs or breasts. Just adjust cooking times accordingly.
The safest way is to use a meat thermometer. Chicken is ready when it reaches an internal temperature of 165°F.
Frying at the right temperature and not overcrowding the pan are key. Also, letting the chicken drain on paper towels will help remove excess oil.
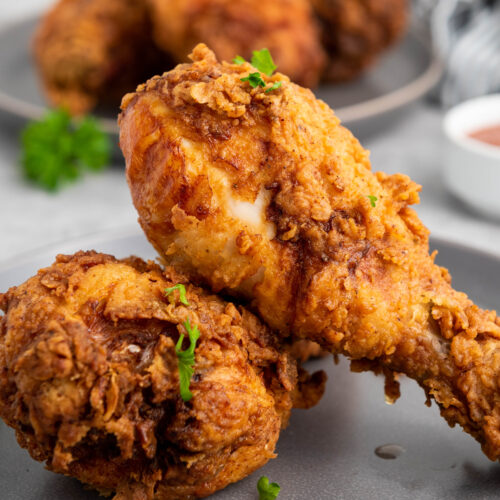
Buttermilk Fried Chicken
Ingredients
- 6 chicken drumsticks
- 2 cups all-purpose flour
- 2 cups buttermilk
- 1 teaspoon paprika
- 1 teaspoon garlic powder
- 1 teaspoon onion powder
- 1 teaspoon salt
- 1 teaspoon pepper
- Vegetable oil for frying
Instructions
- Marinate the Chicken: Rinse the chicken drumsticks and pat them dry.
- Place them in a bowl and pour buttermilk over them. Add half of the salt and pepper. Make sure the chicken is coated, then cover and chill for at least 2 hours.
- Coat the Chicken: In another bowl, mix the flour, paprika, garlic powder, onion powder, remaining salt, and remaining pepper to make a seasoned flour mix.
- Dredge the Chicken: Take the chicken out of the buttermilk, letting excess liquid drip off.
- Roll the drumsticks in the seasoned flour, ensuring they’re well coated. Press the flour onto the chicken for a crispy coating.
- Heat vegetable oil in a deep fryer or a deep pot to 350-375°F (175-190°C).
- Carefully put the coated chicken pieces in the hot oil, a few at a time – make sure not to overcrowd your fryer. Fry for 12-15 minutes until they’re golden brown, crispy, and cooked inside. The chicken should reach 165°F (74°C) inside.
- Use a slotted spoon to take out the fried chicken and place them on paper towels to remove extra oil.
- Let them cool a bit before serving. Enjoy your buttermilk fried chicken with your favorite sides!
Nutrition
Nutrition values are estimates, for exact values consult a nutritionist.


